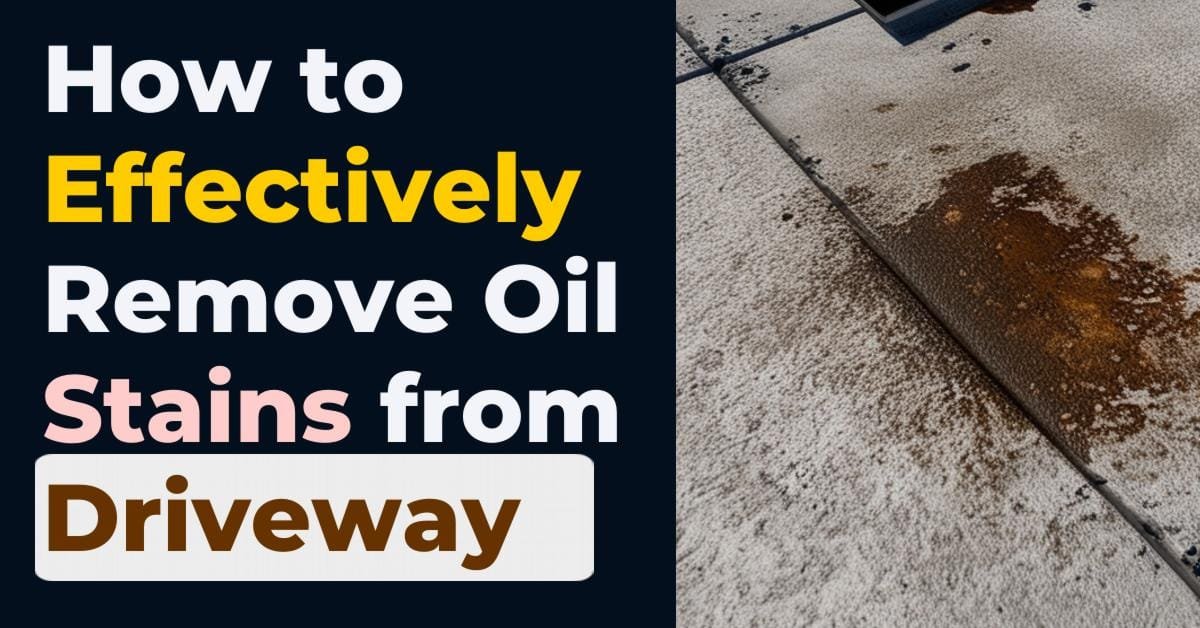
Oil stains on your driveway can be an eyesore and a challenge to remove. Whether caused by a leaky vehicle or a spill during maintenance, these stains can penetrate deep into porous surfaces like concrete and asphalt. Fortunately, there are effective methods to tackle these stubborn stains from a driveway. This guide will explore simple and practical steps to restore your driveway to its original clean state.
Understanding Oil Stains and Driveway Surfaces
Before getting rid of oil stains, it’s essential to understand how oil interacts with different driveway surfaces. Driveways or garage floors are typically made of either concrete or asphalt:
- Concrete Driveways: Concrete is porous and easily absorbs oil, making removing stains more challenging. The rough surface also holds onto the oil, which can penetrate deep into the material. Oil stains on concrete can be removed via concrete cleaner which I will discuss in this post next.
- Asphalt Driveways: Asphalt is less porous than concrete but still absorbs oil to some extent. The black color of asphalt can mask stains, but over time, oil can degrade the material.

Why Remove Oil Stains?
Removing oil stains from your driveway is important for several reasons:
- Aesthetics: A clean driveway enhances the overall appearance of your home, garage floor, and parking driveway.
- Safety: Oil can make the driveway slippery, posing a risk of falls.
- Maintenance: Oil can degrade the driveway material, leading to cracks and potholes.
Step-by-Step Guide to Remove Oil Stains From a Driveway
Step 1: Gather Your Supplies to Clean the Oil
To remove oil stains from the driveway, you’ll need the following items:
- Cat litter, kitty litter, or sawdust (for fresh spills)
- Dish soap or laundry detergent to remove oil stains from driveway
- Baking soda or cornstarch to remove old oil stains
- Scrub brush with stiff bristles to remove oil stains from concrete
- Garden hose or pressure washer
- Commercial degreaser or oil stain remover (optional)
Step 2: Absorb Fresh Spills
If the oil spill is fresh, the first step is to absorb as much oil as possible before it penetrates the surface.
- Cover the Stain: Sprinkle a generous amount of cat litter, sawdust, or another absorbent material over the oil stain.
- Let it Sit: Allow the material to sit on the stain for at least 30 minutes to absorb the oil.
- Sweep Up: Use a broom to sweep up the absorbent material and dispose of it properly.
Step 3: Apply a Cleaning Agent
Once the excess oil is absorbed, the next step is to apply a cleaning agent to break down the remaining oil.
- Choose a Cleaner: You can use a simple household cleaner like dish soap or laundry detergent. Consider using a commercial degreaser or a specialized oil stain remover for tougher stains.
- Apply the Cleaner: Pour the cleaning agent directly onto the stain. For a natural approach, you can also use baking soda or cornstarch to absorb the oil.
- Scrub the Area: Use a stiff-bristled brush to scrub the cleaner into the stain. Apply pressure and scrub in circular motions to work the cleaner into the surface.
- Let it Sit: Allow the cleaner to sit on the stain for 15-30 minutes to break down the oil.
Step 4: Rinse the Area
After the cleaner has had time to work, it’s time to rinse the area.
- Use a Hose or Pressure Washer: Rinse the area thoroughly with a garden hose or pressure washer. A pressure washer will provide a more powerful stream of water to help remove the oil and cleaner.
- Repeat if Necessary: If the stain remains, repeat the cleaning process until the stain is removed.
Step 5: Use a Commercial Stain Remover (If Needed)
For particularly stubborn stains, a commercial oil stain remover may be necessary.
- Follow Instructions: Follow the manufacturer’s instructions for the best results.
- Apply and Wait: Apply the product to the stain and let it sit for the recommended amount of time.
- Scrub and Rinse: Scrub the area again with a brush and rinse thoroughly with water.
Tips for Preventing Oil Stains
Preventing oil stains is always easier than removing them. Here are some tips to keep your driveway clean:
- Regular Maintenance: Sweep your driveway regularly to remove dirt and debris.
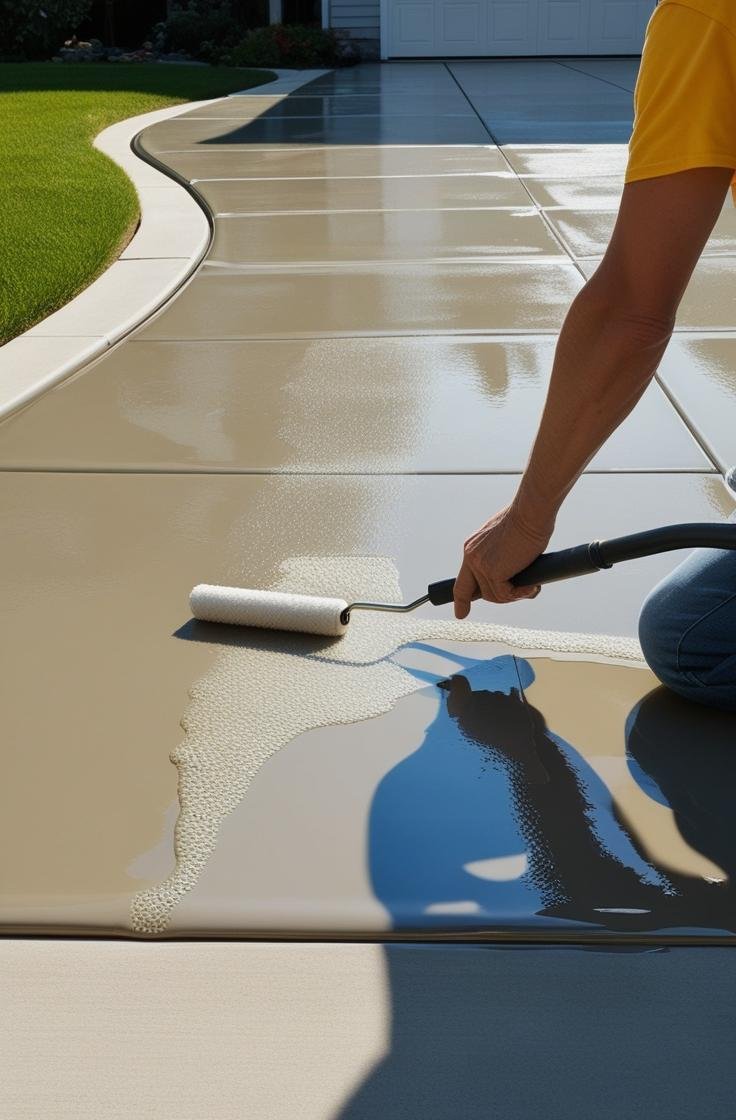
- Use a Driveway Sealer: Applying a sealant to your driveway can create a protective barrier that prevents oil from penetrating the surface.
- Address Leaks Quickly: If your vehicle is leaking oil, address the issue promptly to prevent stains.
- Use a Drip Tray: Place a drip tray under your vehicle to catch any leaks.
Assessing the Effectiveness of Oil Stain Removal Methods
Removing oil stains from your driveway can be a challenging task, but understanding how to evaluate the effectiveness of different cleaning methods is essential for achieving the best results. As a U.S. homeowner, it’s important to know when the job is done right and when you might need to reapply cleaning solutions. Here’s a quick guide to help you assess your efforts.
Indicators of Successful Stain Removal
To determine if an oil stain has been effectively removed, consider the following signs:
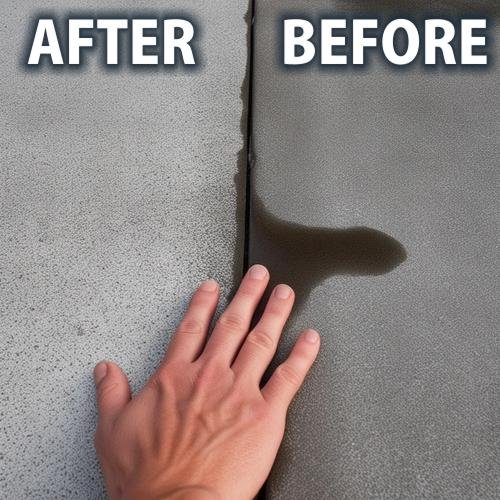
- Visual Inspection: A successful cleaning job will leave the driveway looking uniform in color without dark or discolored spots.
- Surface Texture: Feel the cleaned area; it should be consistent with the rest of the driveway. Any greasy or uneven texture suggests oil remains.
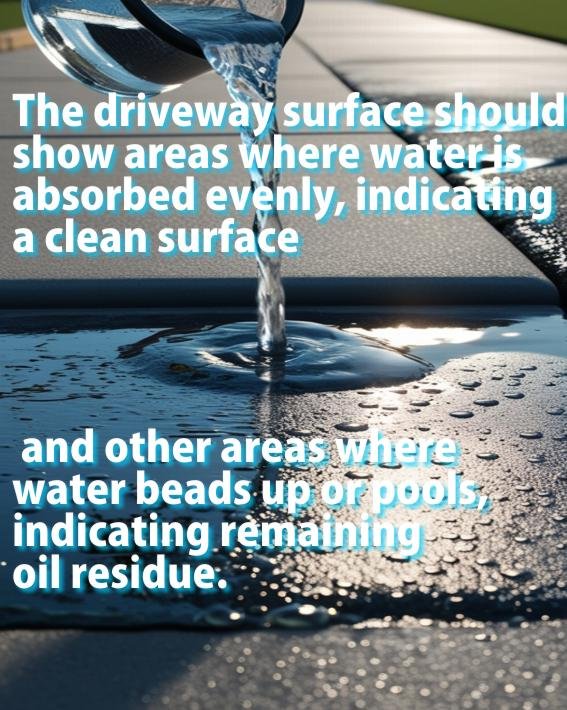
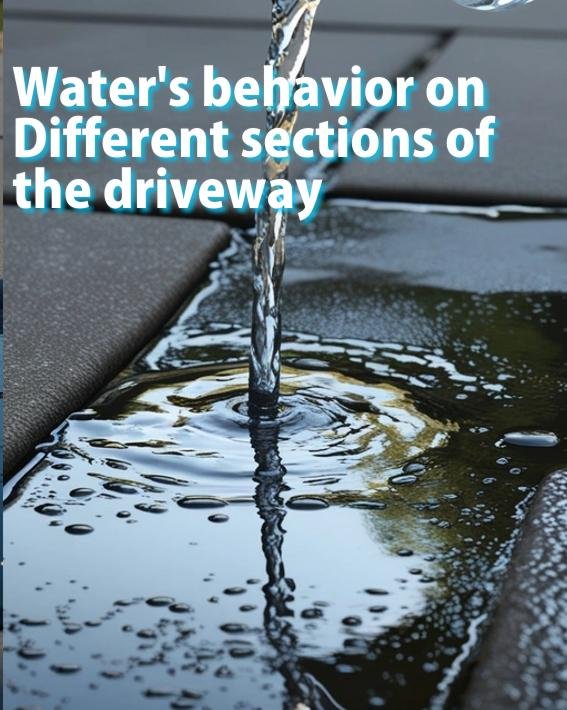
- Water Test: Pour a little water over the cleaned area. If it absorbs evenly, the stain is likely gone. If water beads up or pools, some oil may still be present.
- Odor: If the area still smells like oil, there may be residue left.
When to Reapply Cleaning Solutions
Sometimes, a single round of cleaning isn’t enough. Here’s when you might need to try again:
- Visible Stains: If the stain is still visible after the first attempt, a second application of the cleaner might be necessary.
- Thick or Large Stains: Stubborn stains or larger spills may require multiple rounds of cleaning.
- Ineffective Cleaner: If the cleaner you used wasn’t strong enough, consider switching to a more powerful product.
- Improper Conditions: If the first cleaning was done in poor weather (too hot or rainy), the cleaner might not have worked properly, and reapplying on a better day could help.
Evaluating Surface Integrity After Cleaning
After cleaning, it’s important to check that your driveway remains in good condition:
- Check for Damage: Look for new cracks, pitting, or any surface erosion that may have been caused by harsh chemicals.
- Consistency: Ensure the cleaned area matches the rest of the driveway in texture and color.
- Durability: Tap the cleaned area; it should not sound hollow, which could indicate damage underneath.
Measuring Long-Term Results
To ensure lasting results, keep an eye on the cleaned area over time:
- Monitor for Recurrence: Sometimes, stains can reappear as oil seeps up from deeper within the material.
- New Stains: If new stains appear, you may need to address the source, such as a leaking vehicle.
- Maintain the Driveway: Regular cleaning and sealing can prevent future stains and maintain the driveway’s appearance.
Conclusion
Removing oil stains from your driveway is manageable with the right approach and tools. By acting quickly and using the appropriate cleaning methods, you can restore your driveway to its original clean state. Regular maintenance and preventative measures can also help keep your driveway looking its best and extend its lifespan. Remember, whether you have a concrete or asphalt driveway, there are solutions available to tackle those stubborn oil stains effectively.